A homeowner’s guide to planning a rear extension

A homeowner’s guide to planning a rear extension
IMAGE
Deciding to build a rear extension usually isn’t a snap decision. You’ve likely spent months — sometimes years — thinking about space, saving money, and imagining how different your home could feel with more room. But once you decide to move forward, it quickly becomes clear that building an extension involves far more than hiring a builder and picking finishes.
From early design choices to permissions, regulations, neighbours, budgets, and timelines, a rear extension is a process. It can feel complex at first, but with the right understanding, it becomes far more manageable. This guide explains what to expect, what matters most, and how to approach your project with confidence.
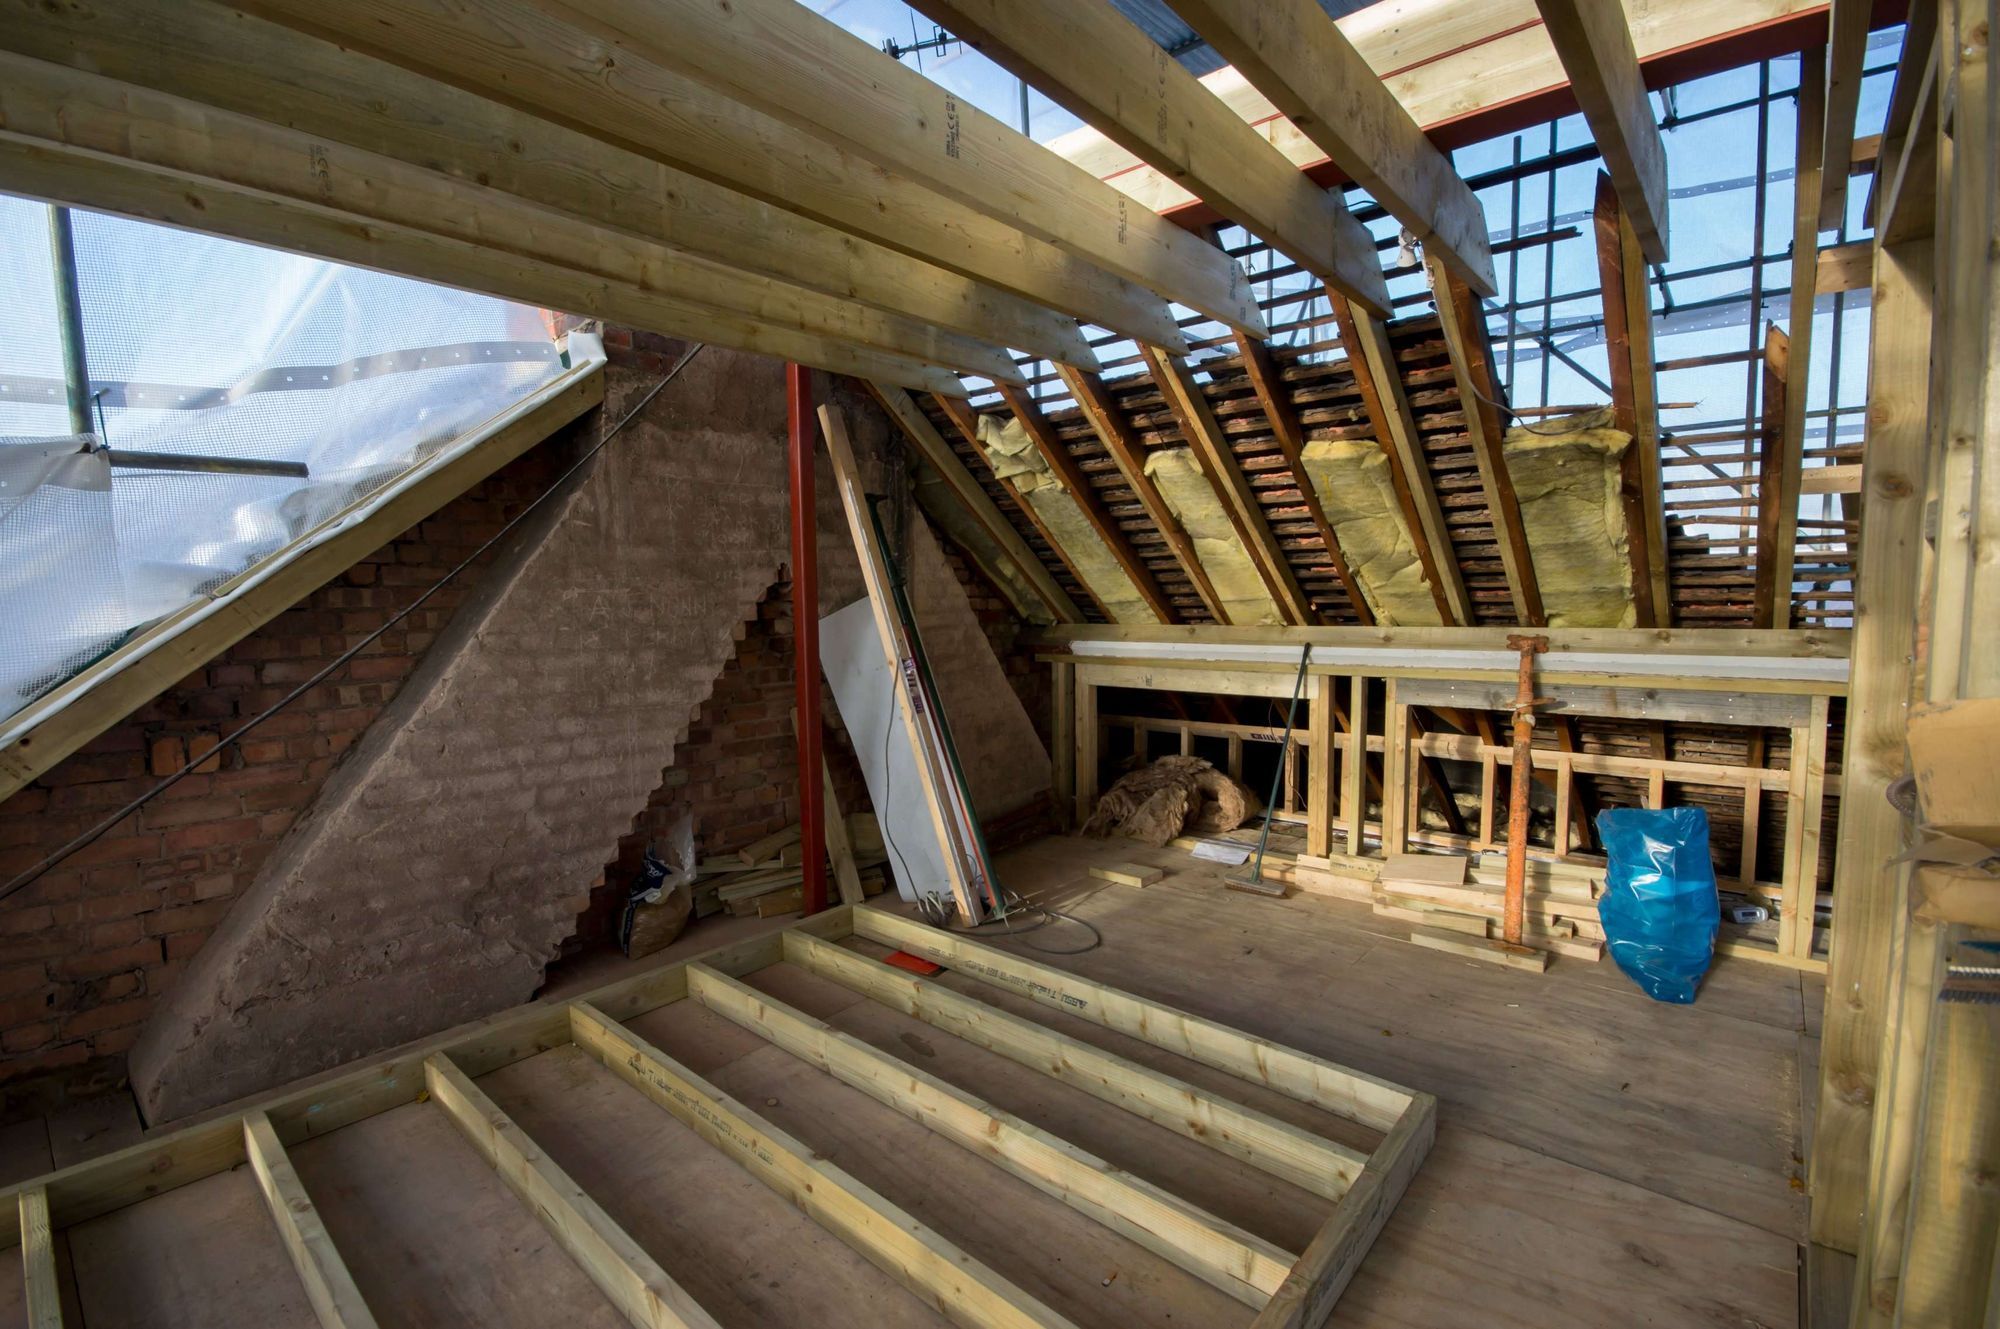
Rear extension costs: what to budget for
Rear extension costs vary significantly depending on size, complexity, and finish. As a broad guide, many homeowners find rear extensions fall within the tens of thousands of pounds, with larger or more detailed projects moving higher.
Costs are influenced by:
- Total floor area added
- Structural changes to the existing house
- Ground conditions and foundation depth
- Amount of glazing and roof design
- Quality of materials and finishes
- Mechanical and electrical upgrades
It’s worth remembering that costs usually relate to the total refurbished area, not just the new addition.
How project budgets are typically distributed
While construction accounts for the largest share of spending, a rear extension budget usually covers several areas, including:
- Construction labour
Building materials - Glazing and doors
- Professional and technical services
- Surveys, inspections, and statutory fees
Understanding where money is typically spent helps avoid surprises and allows for better decision-making early on.
What you can usually build without full planning permission
Many rear extensions fall under permitted development, which means you may not need to submit a full planning application — provided strict limits are followed.
Common permitted development rules include:
- Maximum overall height of 4 metres
- Single-storey extensions only
- Depth limits of 6 metres for attached homes and 8 metres for detached homes
- Coverage of no more than 50% of the original garden area
- No balconies or raised platforms
These rules are precise. Small changes to height, depth, or position can move a project outside permitted development.
Understanding height, roofs, and boundaries
Rear extensions are assessed carefully where height and proximity to boundaries are concerned.
Key rules to be aware of:
- If any part of the extension sits within 2 metres of a boundary, eaves height cannot exceed 3 metres
- Single-storey extensions cannot exceed 4 metres in total height
- For multi-storey extensions, roof pitch and materials should closely match the existing house
- Extensions must not be taller than the original building
These limits affect roof choice, head height, and internal layouts, so they should be considered early.
Windows, privacy, and overlooking
Upper-floor windows in rear extensions — particularly on side elevations — are subject to restrictions.
Where applicable:
- Side-facing upper windows must usually be obscure-glazed
- They must be non-opening, unless the opening section is more than 1.7 metres above floor level
These rules protect neighbouring privacy and can influence room layouts and window placement.
When full planning permission is required
You’ll usually need planning permission if your extension:
- Exceeds permitted development size or height limits
- Includes balconies or verandas
- Wraps around the side and rear of the house
- Creates a separate dwelling or annex
- Covers more than 50% of the surrounding land
- Alters a listed building or restricted property
It’s worth noting that planning permission is often more restrictive than permitted development, making compliance with permitted development rules the simpler route where possible.
Planning application fees and related costs
If planning permission is required, application fees apply. These vary by region but are typically a few hundred pounds for householder applications.
Additional costs may include:
- Survey drawings
- Supporting technical information
- Lawful Development Certificate applications
- Online submission service charges
Accurate information upfront reduces the risk of delays or refusals.
How rear extensions can affect property value
Rear extensions often increase a home’s value by adding usable floor area and improving layout. In many cases, homeowners see value increases in the region of 5–15%, depending on size, design quality, and market conditions.
Long-term value is influenced by:
- How well the extension integrates with the existing home
- Quality of finishes and detailing
- Natural light and energy efficiency
- Timeless design choices rather than short-lived trends
Energy efficiency upgrades can also improve running costs and future compliance requirements.
Rear extensions take time — not just to build, but to plan properly.
Typical stages include:
- Early preparation and surveys: 2–4 weeks
- Design development: 2–5 weeks
- Planning or prior approval: 4–10 weeks
- Technical design and regulations approval: 1–2 months
- Party wall matters (if required): 2 weeks to 3 months
- Construction: 2–6 months
From first idea to completion, many homeowners complete their rear extension within 7 to 15 months.
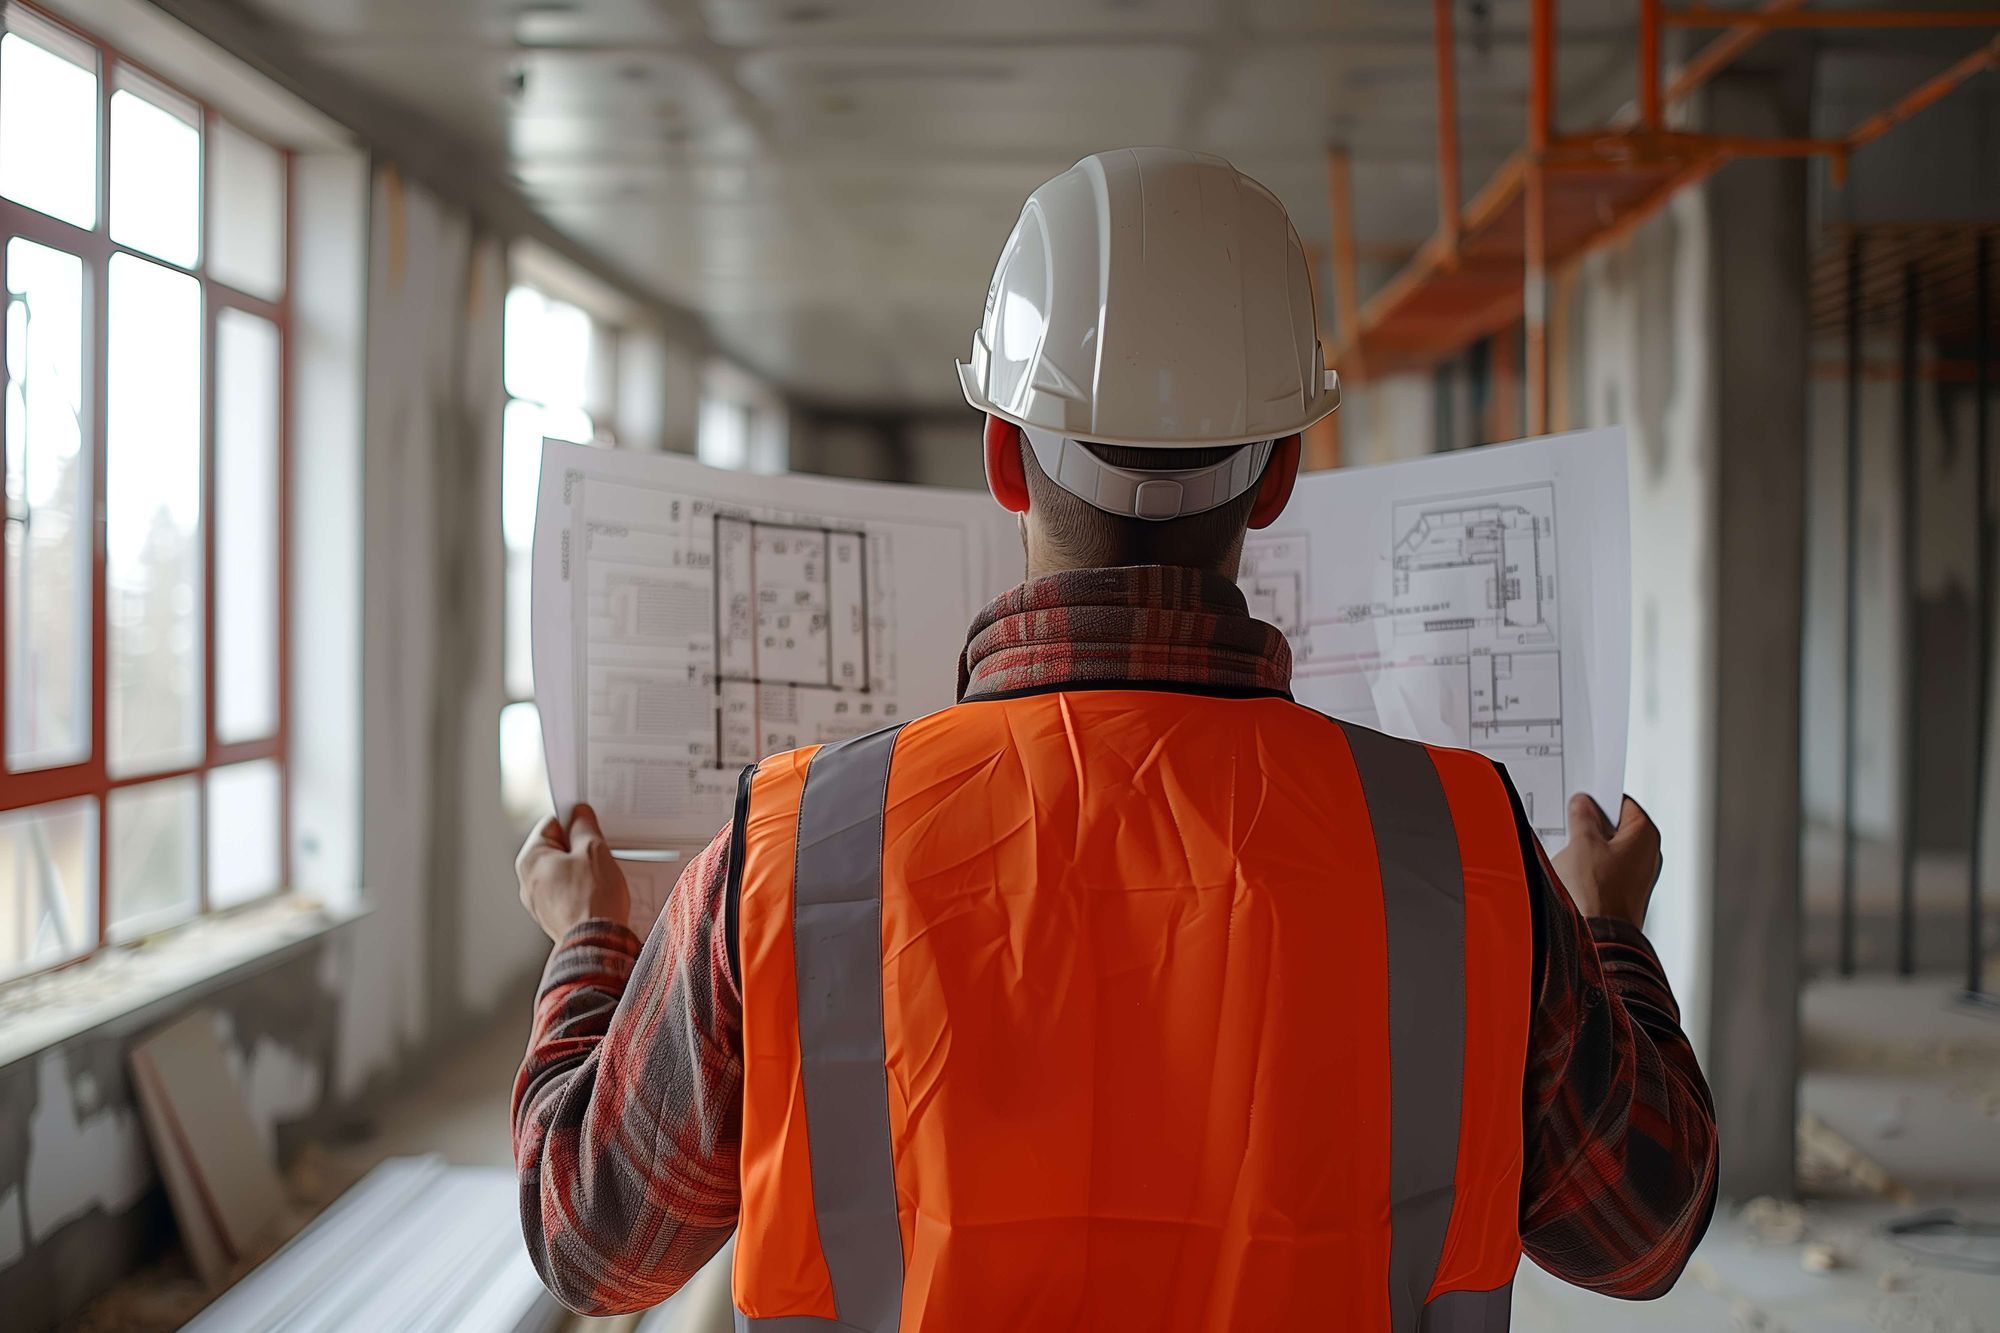
Building regulations: what you must comply with
All rear extensions require building regulations approval, regardless of planning status. These rules ensure safety, performance, and long-term durability.
They cover areas such as:
- Structural stability
- Fire safety and escape
- Ventilation and moisture control
- Thermal efficiency
- Drainage and sanitation
- Sound insulation
- Access and usability
Detailed technical information helps ensure the build is safe, compliant, and constructed as intended.
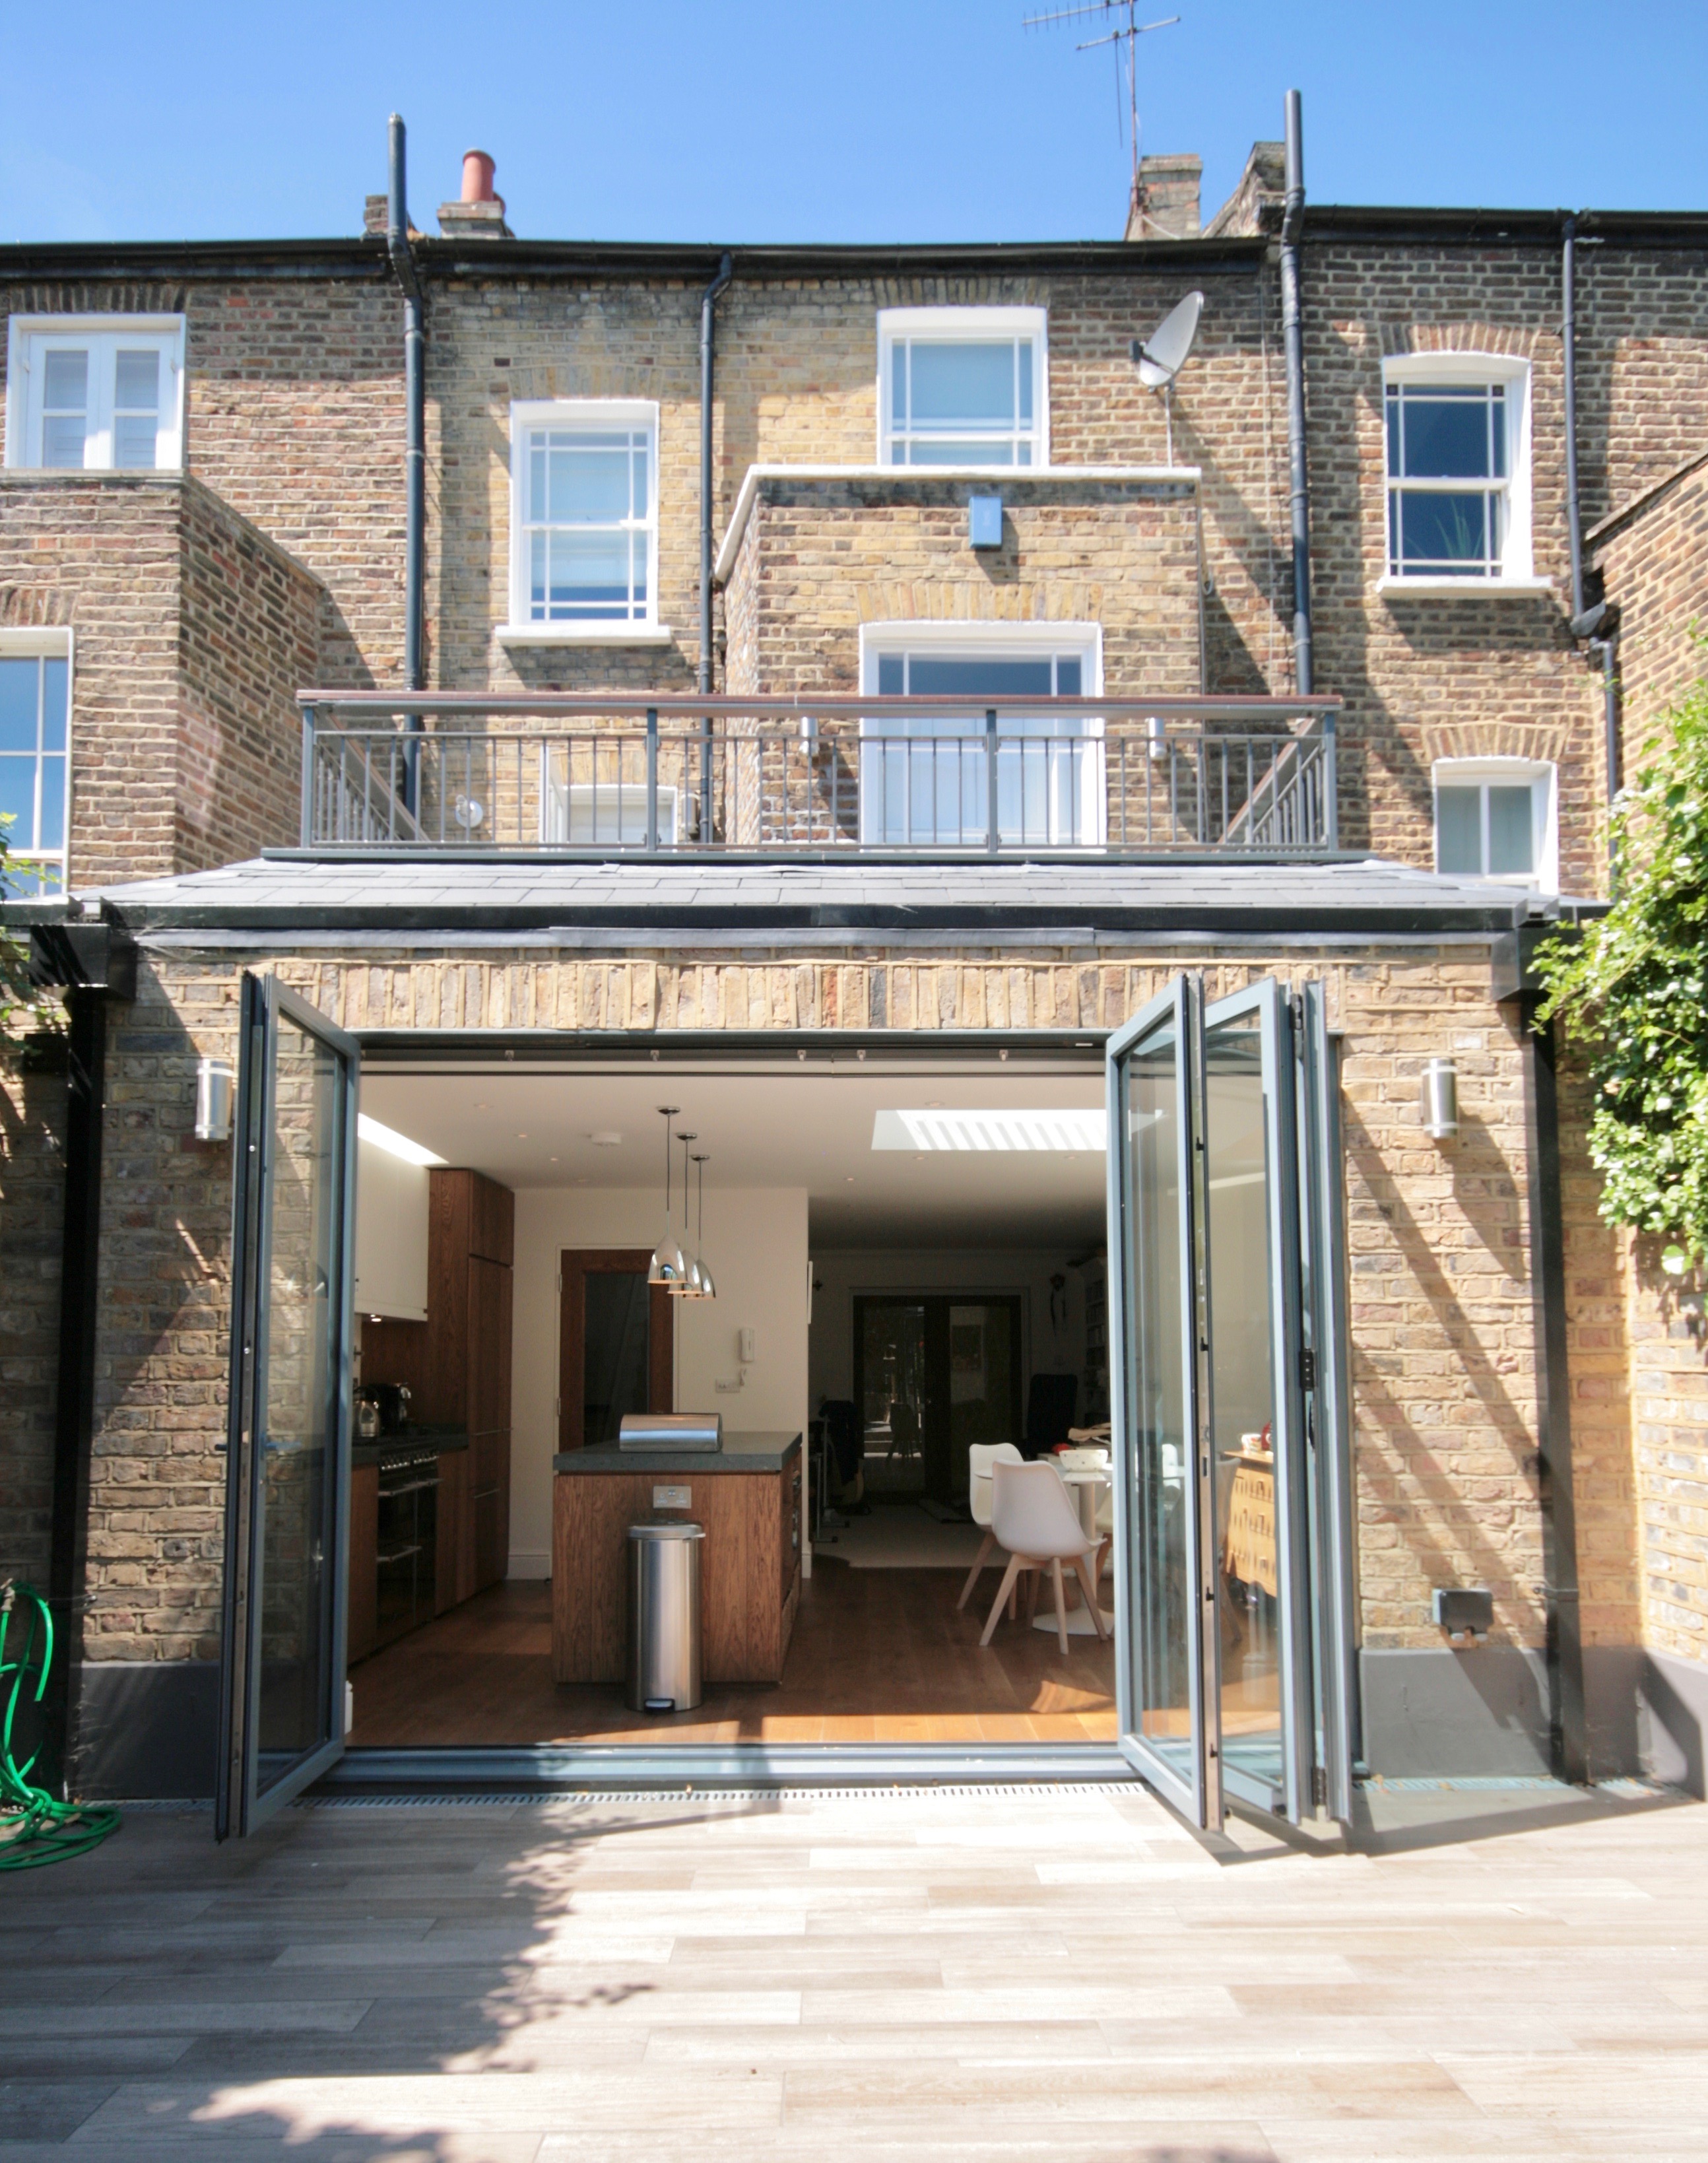
Managing neighbours and shared boundaries
Rear extensions often affect neighbouring properties, particularly where boundaries or shared walls are involved.
If your project includes:
- Excavation near neighbouring foundations
- Work to shared or adjoining walls
Formal notice must be given, and in some cases, a party wall agreement is required before work starts. Addressing this early helps avoid delays and disputes.
Design ideas that stand the test of time
Successful rear extensions balance practicality with timeless design.
Popular, long-lasting features include:
- Rooflights and skylights for daylight
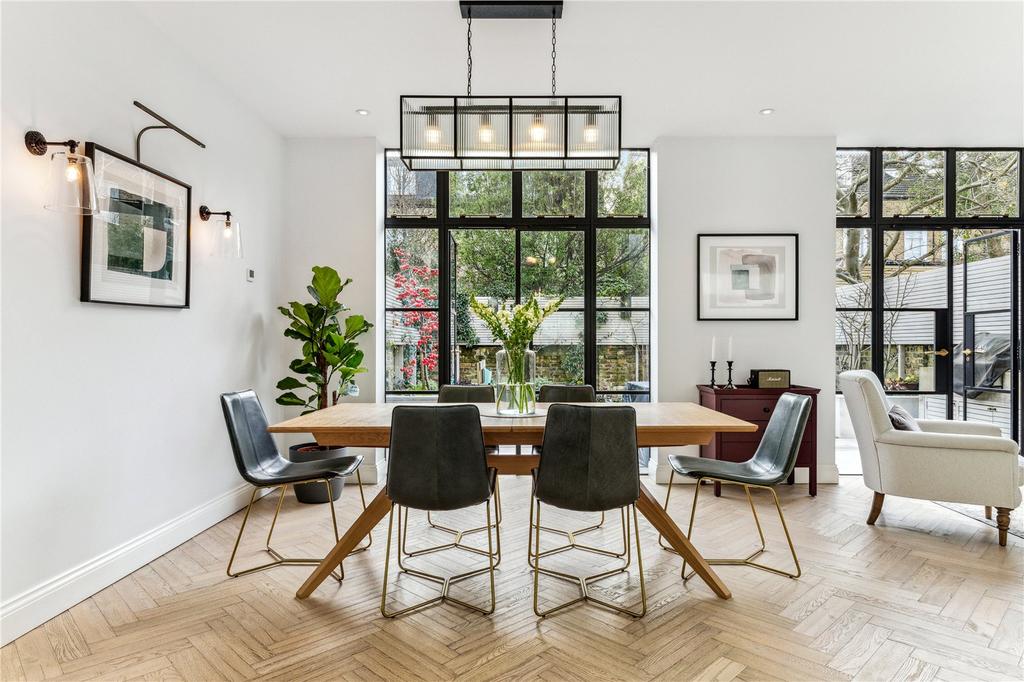
- Simple, well-proportioned glazing
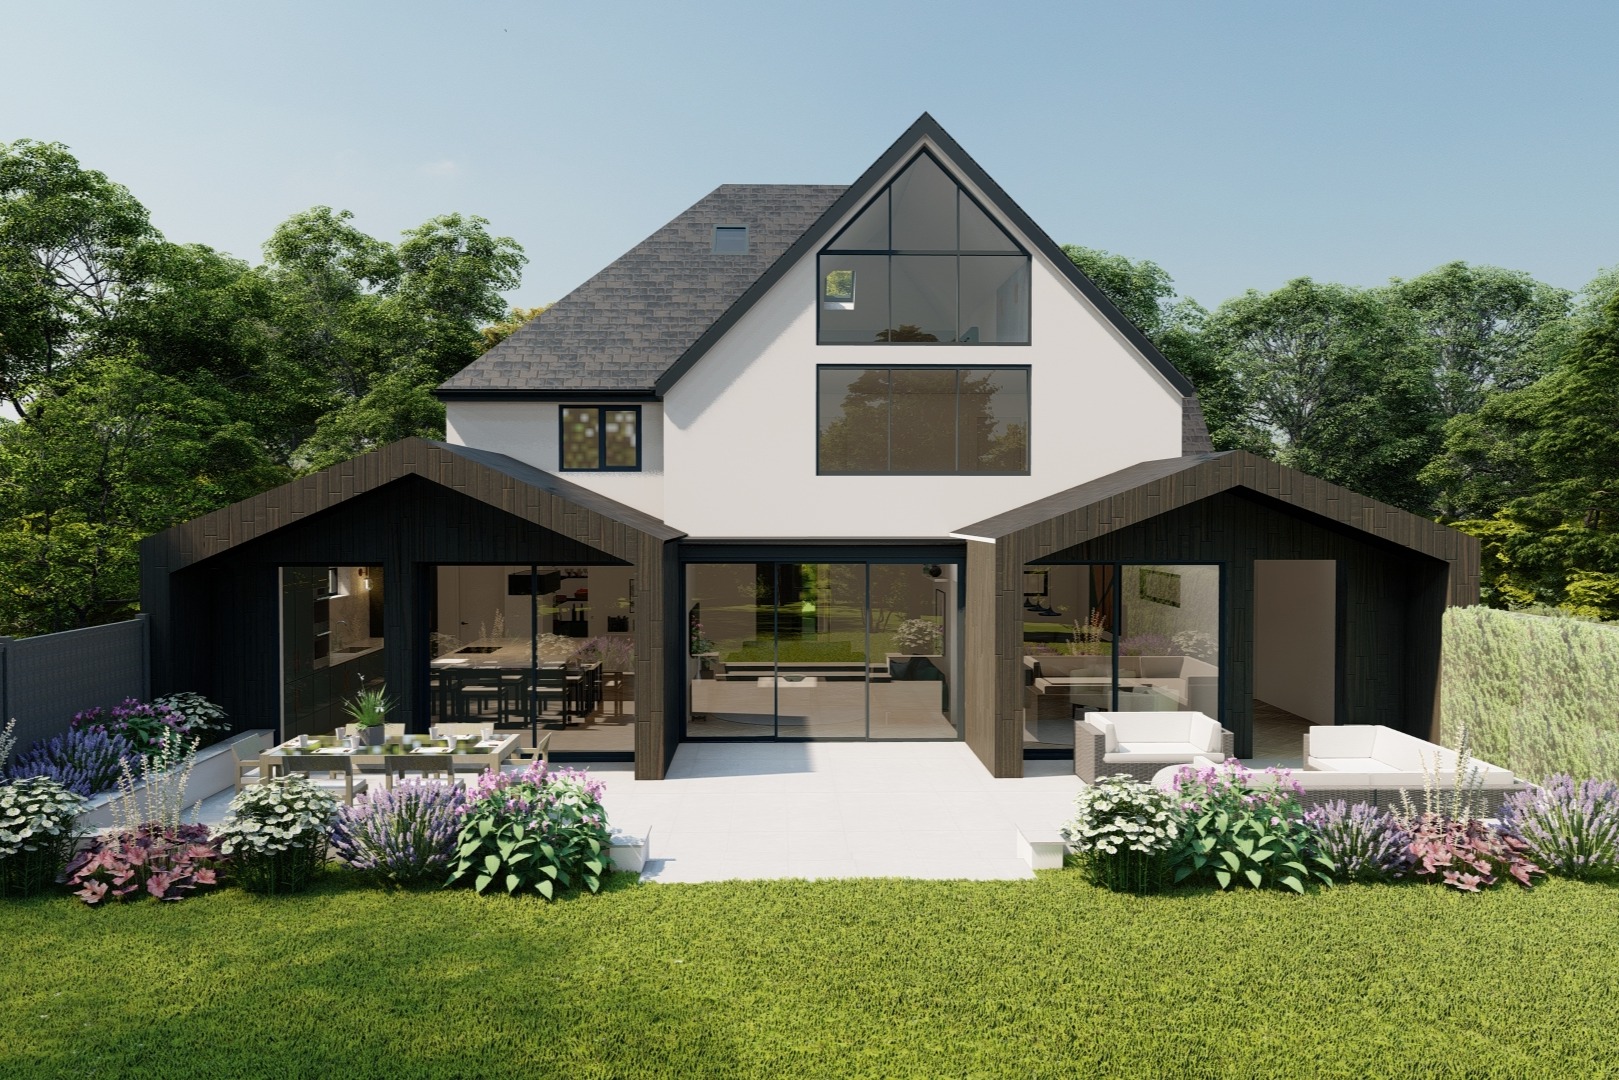
- Pitched or subtly detailed roofs
- Brick, timber, or neutral finishes

- Strong connections between inside and outside

Good design focuses on light, flow, and comfort — not trends alone.
Bringing it all together
A rear extension is a major investment, but it’s also an opportunity to reshape your home around how you live today. With a clear understanding of costs, rules, timeframes, and design priorities, the process becomes far less daunting.
When each stage is approached thoughtfully, a rear extension can deliver space, comfort, and long-term value — turning careful planning into a home that genuinely works better for you.
.png)

.jpeg)


With over 500+ projects completed nationwide.
